Assignment 2--Ferrari 250 GTO
My Group Members:


QIUTONG ZHANG
RUILIN QIN
QIAN SHA
ZHENLEI YU
SHANSHAN ZHANG
&
JIAYU LI (me)

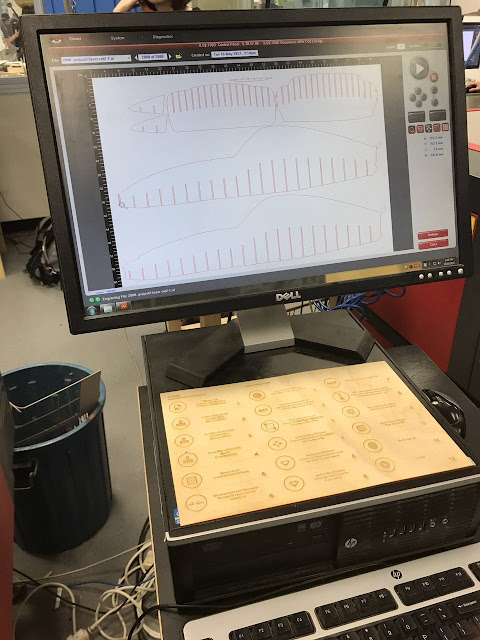
Like every group else, we started with making the template by laser cutting every pieces that compose the Ferrari.

We all practiced how to use laser cut this time, from original files to AI files that adapt laser cutting machine. But for the first time we didn't chose the right thickness of material, so we did it again.


This is how it looks like after we put every pieces together.

We made the distance between two pieces pretty small and have more pieces, in order to get a more fluent shape of the car when we shape the metal. Then we used masking tape wrapped it for the same reason.

Then we divided the car into several parts:
top of the car(from empennage to windscreen), top cover, the front face, right front above wheel, right back above wheel, left front above wheel and left back above wheel.

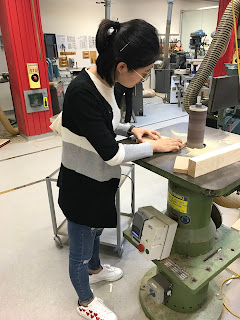
Then we used tracing paper to get the shape of every part.

We sticked the tracing paper to the aluminium sheet and cut it off. This is my part, top of the car, the horizontal line in the middle is to show the border line between car top and windscreen.
And everyone else was basically doing the same.


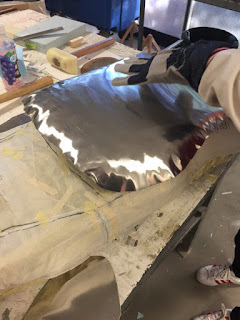
Then I put the metal sheet onto the template and tried to strike a basic shape of it. I hammered the most curvy part down to fit the template.


After striking for a few times, I took it off to refine it on the tool and sand bag, and then put it back to check the difference. Then I repeated this step hundreds of times. This step is using the same technique as doing the bowl and tray before. After doing several times I got the tricks. And one important thing is that you should hammer the smooth flat part as less as possible. It will save time for rolling it flat again and looks better for the final result.
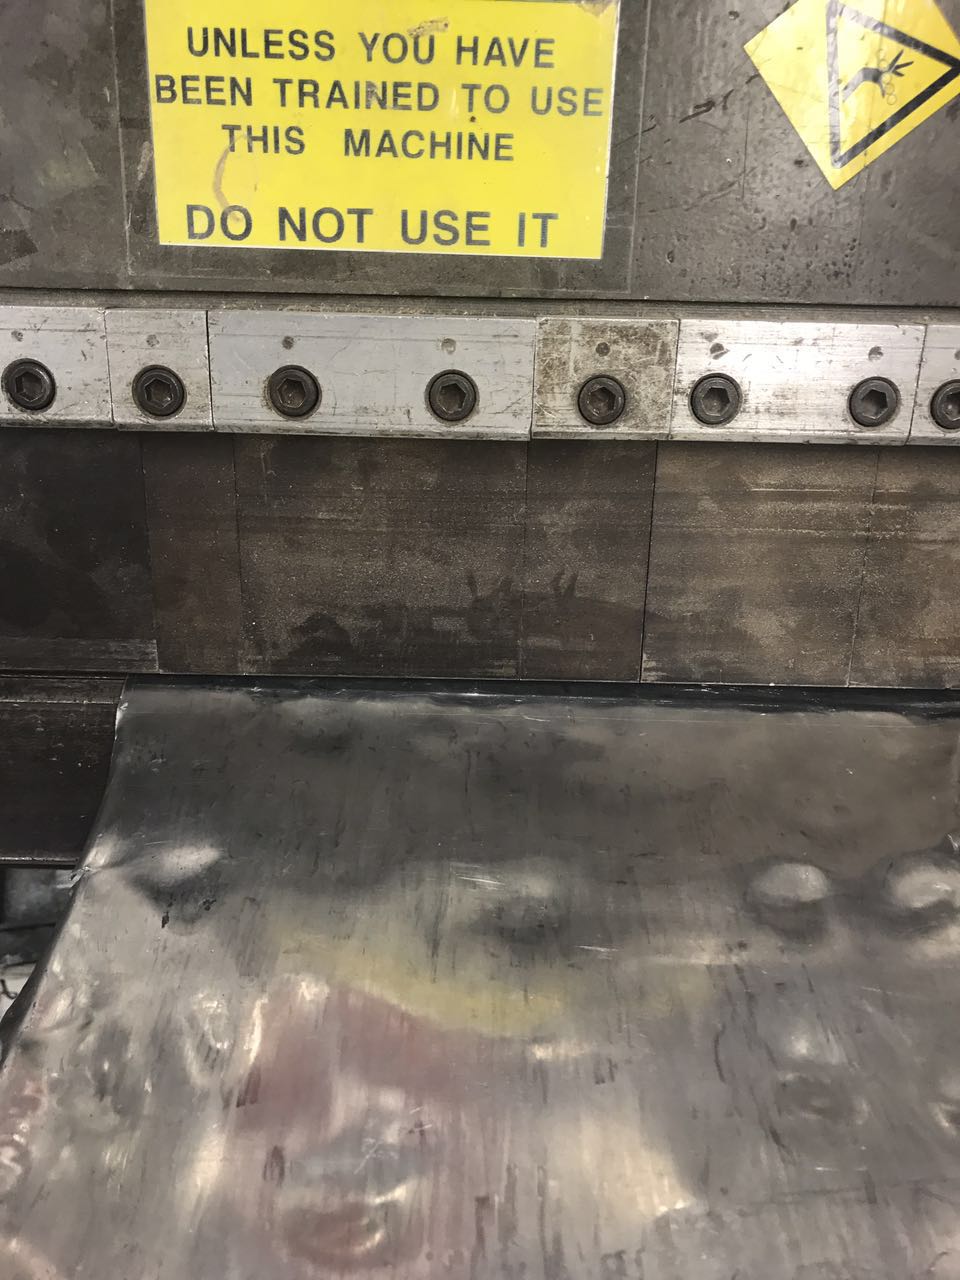

Used this metal bending machine to curve out the shape of empennage.

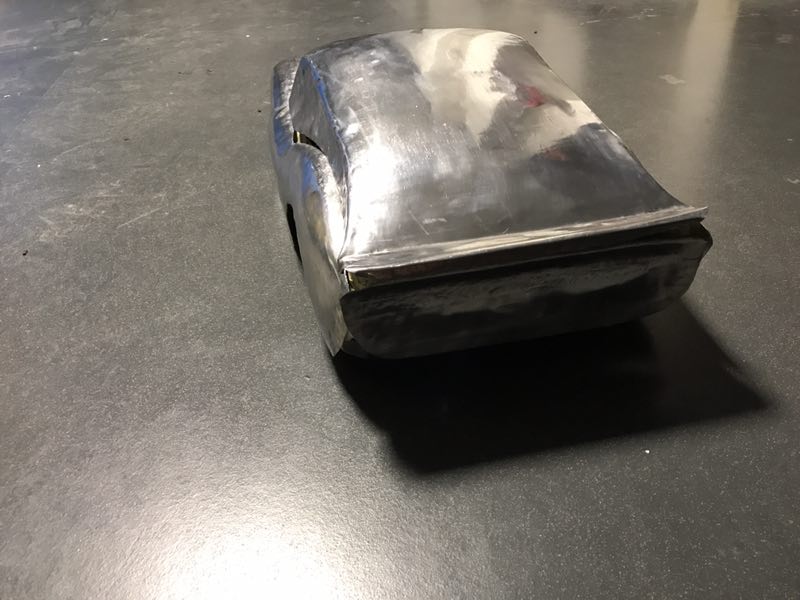
After using the English Wheel to roll it smooth, it started to look a bit like the shape, yeah!

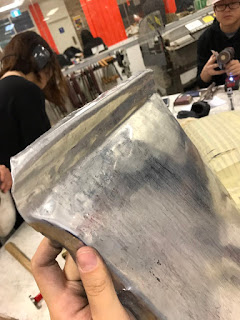
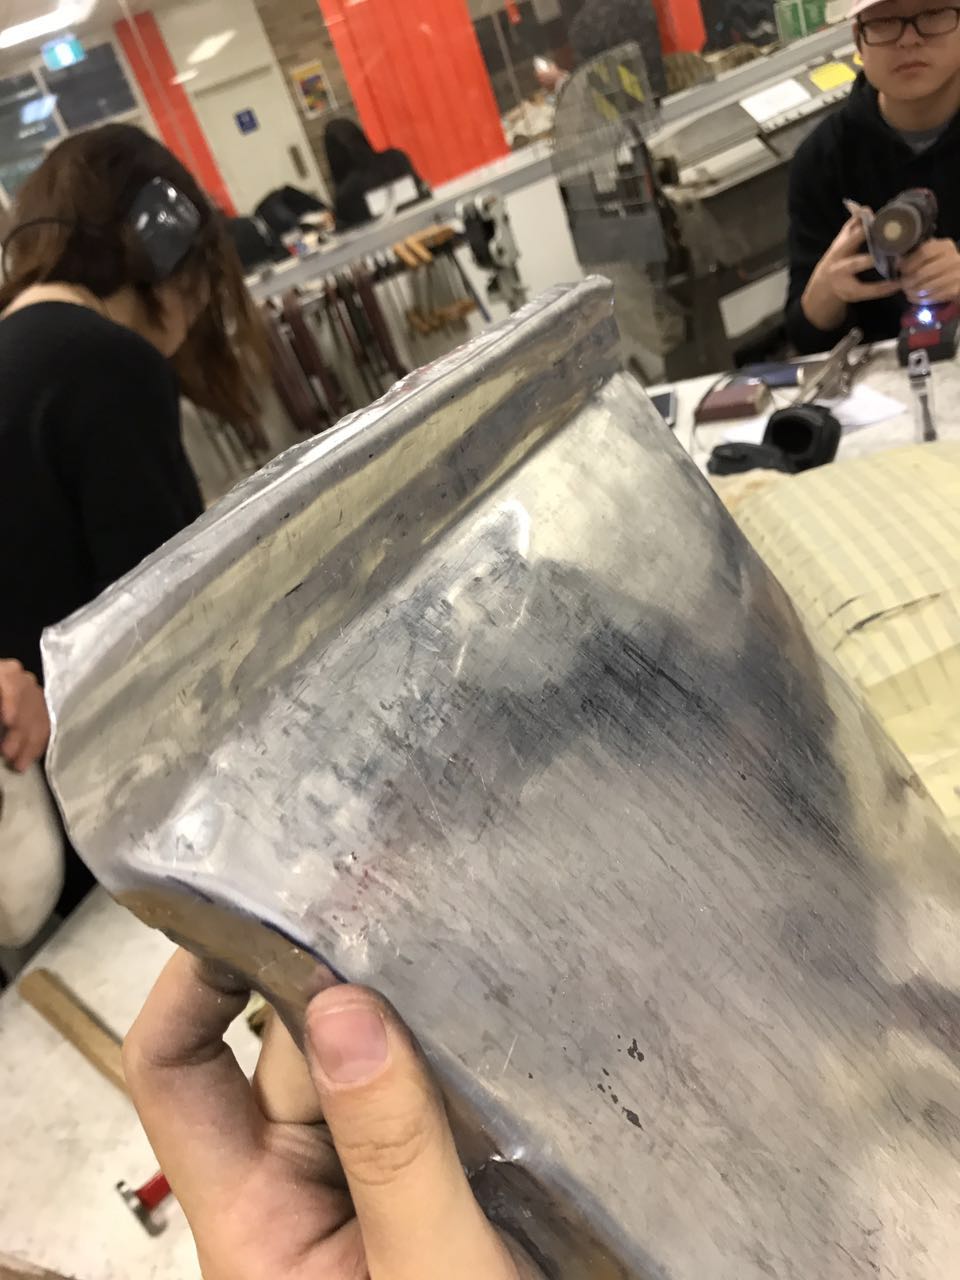
Next step is striking out the folding marks on both sides. This part is the hardest, it's like doing the folded edges of the tray, only its edges are too wide. It needs a lot of patience to do this.

I put a block of timber against that line and clapped it onto the table then hammer, can see the folding mark now.


It looks so much better now, so pleased.


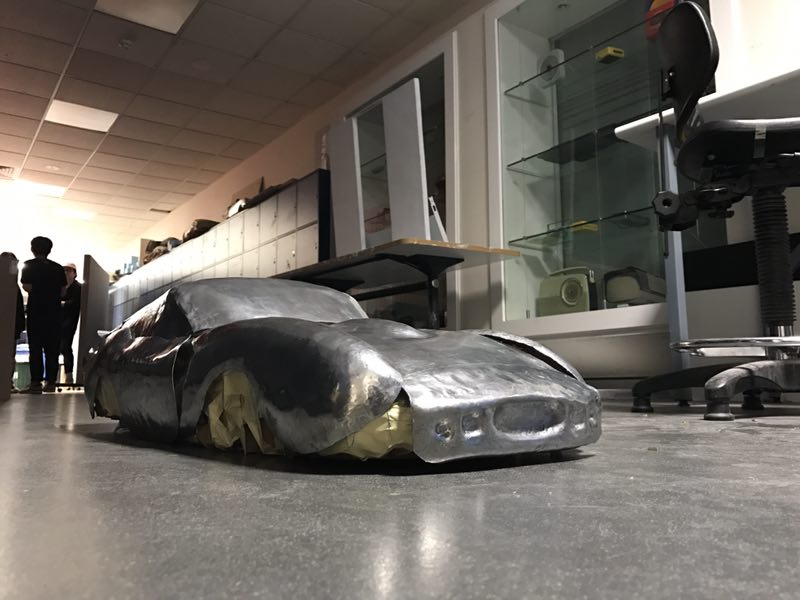
I put it back to see how it goes with template and other parts. I'm satisfied.


Other members in my groups were doing a great job as well!


Comments
Post a Comment