1.Bowl

We started with a piece of flat square aluminium sheet. I drew an inscribed circle on it and cut it out, which is the foundation of the bowl. Then I drew the center of the circle and several concentric circles according to it, so that I can aim easily.

Then I strike the outer side of the circle to make it wrinkle up using the wooden mode and the pointed side of hammer, like everyone else did. It was so much more harder then I thought. The first few strikes were fine, but my hands got more and more sour and the hand holding the metal down hurt by the vibration while striking. What to do next is striking the wrinkles down using the rounder side of hammer and make it concave into the mode. Then repeat this movement for hundreds of times, until the metal sheet has a rough bowl shape.

Next step is using this mushroom shape mode to define the unflatten detail of the bowl using the small flat-headed iron hammer tapping gently and constantly. The metal started to be more and more like a hemispherical bowl.

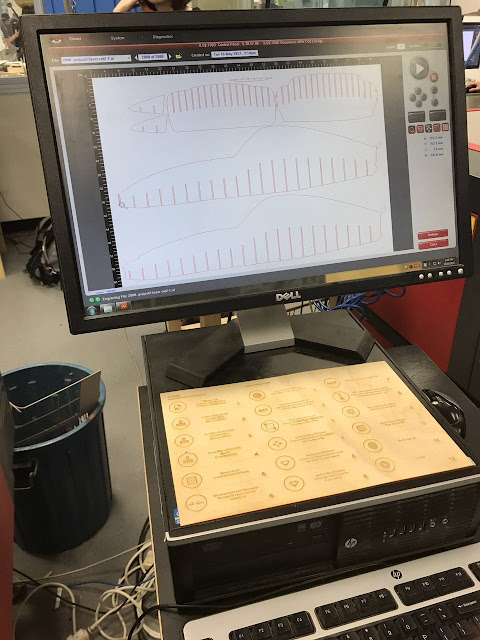
It's time to use English Wheel to roll the roughness out. I chose a most round wheel and swiped the bowl between the two wheels. Then I rolled the bowl at every angel for nearly an hour, taking it out to check every 10 minutes.

The final step is using the rasp board to make the bowl edge flat and unsharp.

This is the result. First time to be a ironsmith. I can feel the difficulty, but I'm liking it.


Comments
Post a Comment